A sun shade structure can provide numerous benefits for your business, from keeping your patrons cool in hot weather to protecting your outdoor furniture from fading. One crucial part of installing a shade structure for your business is ensuring you choose the right size. These structures come in numerous styles and shapes, such as squares, sails and cantilevers, making measuring an involved process.
The ultimate goal is for your sun shade to sit tautly, which means your measurements must be precise. In this guide, we’ll walk you through the steps to measuring for a shade structure, along with some helpful tips for a durable and high-quality finished product. In the end, you’ll be able to properly plan for your new shade structure, leading to plenty of advantages for you and your business.
What You Need to Measure for a Shade Structure
Before you start measuring for your sun shade structure, gather some essential tools:
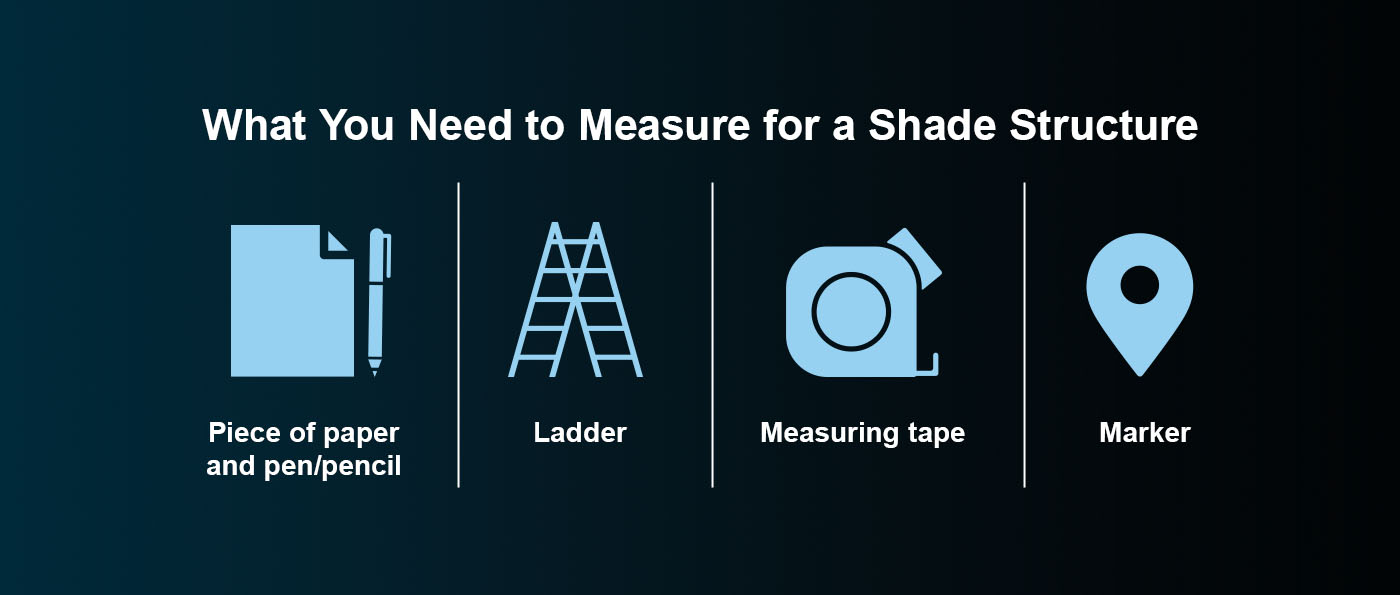
- Piece of paper and pen/pencil: Sketching the shade structure can make it easier to visualize it in your space.
- Ladder: This will help you reach the potential mounting points for the shade structure.
- Measuring tape: This will help you measure the distance between each mounting point.
- Marker: Once you’ve measured the distance between mounting points, you’ll mark where to install your hardware.
Ultimately, you’ll want a simple way to measure accurately and record your measurements so you can double-check them and have them ready to go when it’s time to order your shade structure.
How to Measure for a Sun Shade
Accurately measuring the area for your shade structure will ensure it fits correctly and covers the space you desire.
1. Consider Your Space
Start by considering the space you want to cover. How large is the area? The area’s size will determine how big your shade will need to be. Are there any objects or buildings that may cause an obstruction? If so, you’ll likely need to get creative with the placement of your structure.
If you’re covering a structure with the shade, you may also want to include the area around it in your measurements. Consider how much space around your structure you’d like to cover to help determine the size of your shade system. There are a range of different sizes to choose from that will help you to maximize your space.
If you have limited points to mount the shade structure, consider a cantilever shade or a single post shade that rises through a support point to hover over the area you want to protect. These types of structures create minimal disruption in the activities that are happening below them.
2. Find the Mounting Points
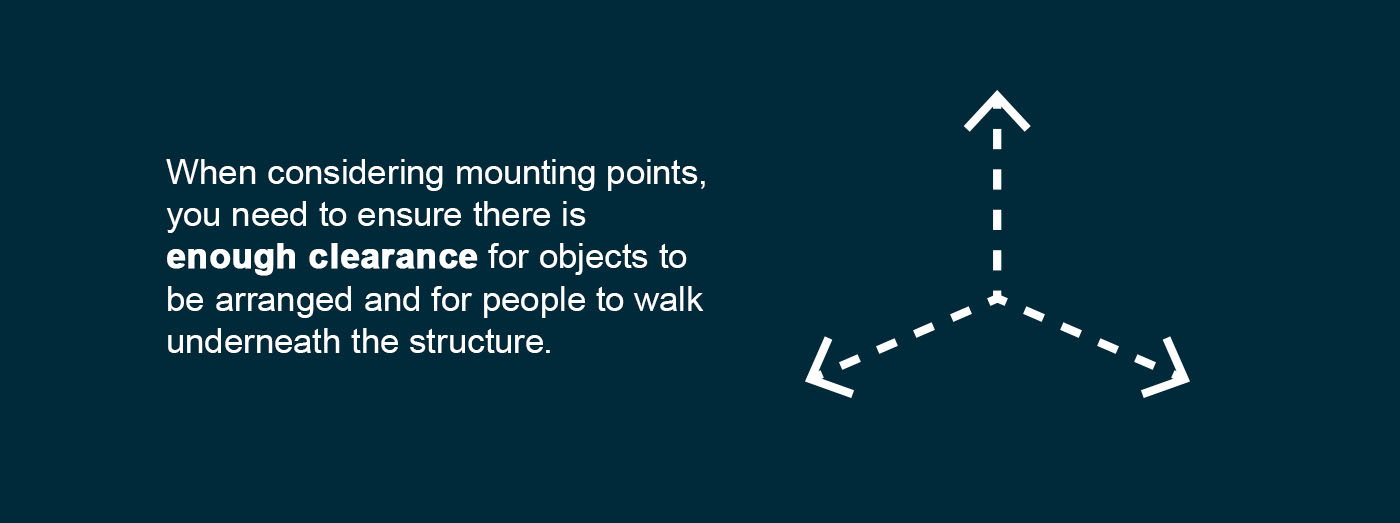
When considering mounting points, you need to ensure there is enough clearance for objects to be arranged and for people to walk underneath the structure. It’s important to note that the height of the shade may need to comply with local regulations and specifications.
With these factors in mind, you can then find potential mounting points. You can sometimes use existing structures such as walls, roofs or poles to mount shade structures. In some cases, you will need to install new support systems. If you need to install mounting, you have a couple of options to choose from:
- Inground mount: This system is the most common, with the pole set in the ground with rebar and concrete. An inground mount is often used with overhead single-post shade structures.
- Recessed plate mount: This form of mounting uses plates to mount the shade structure onto a rebar and concrete footer, followed by additional concrete. This footer is ideal for heavy-duty shade structures or cantilevers.
3. Measure the Space Between the Mounting Points
Carefully considering the shape of your shade structure is essential to ensure the right fit. For example, measuring for a triangle shade sail will differ from measuring for a cantilever shade structure. Measuring a site for a single-post shade structure may be less complex. Keep your shade structure shape in mind as you continue to measure.
Once you’ve determined your mounting points, measure the distance from mounting point to mounting point. Start and end your measurement on the inside edge of where the shade will be attached. Avoid basing your measurements on the distance from the ground to the highest point of the structure — the distance between mounting points is what matters.
The number of measurements you make between mounting points will depend on the shape of your shade. For example, a standard triangle shade sail requires three measurements along the perimeter of the sail. If you’re installing a four-sided sail, measure along the four sides of the edge and then across the two diagonal points. For a five-sided sail, measure along the five sides of the perimeter and then between the five diagonal points.
4. Consider the Height of Your Shade Structure
The height you choose for your shade structure will depend on whether you plan to use it for covering existing structures. If there will be objects underneath it, it’s wise to allow for at least an 84-inch distance between the shade and the structure’s highest point.
Having the mounting points of your shade at different heights will ensure variation. Without height variation, a shade will lie flat. Height variation is also essential for the longevity of your installation. It allows rainwater to run off the top of the shade instead of collecting in the middle.
5. Find the Best Size Based on Your Measurements
Before deciding on the size of your shade structure, it’s important to consider the anchoring. If you plan to install a shade sail, you need anchoring at every corner. This anchoring creates tension between the sail and the mounting point, keeping the sail taut. To create optimal tension for your sail, a distance of 1 to 3 feet is recommended between each mounting point and the sail. The closer the shade is to the anchoring point, the more stable it will be.
To accommodate the anchoring, the space you need to cover must be at least 2 to 6 feet larger than the sides of the sail. For example, for an area of 15×15 feet, the sail will be 13 feet on each side, with 1 foot for the anchoring systems. If the space is too small, there will be little space to attach the sail — too much space results in an unstable structure.
Tips for Measuring for a Shade Structure
Whether you’re measuring for a shade sail or another type of sun shade, these tips will help you carefully work through your measurements and set you up for success.
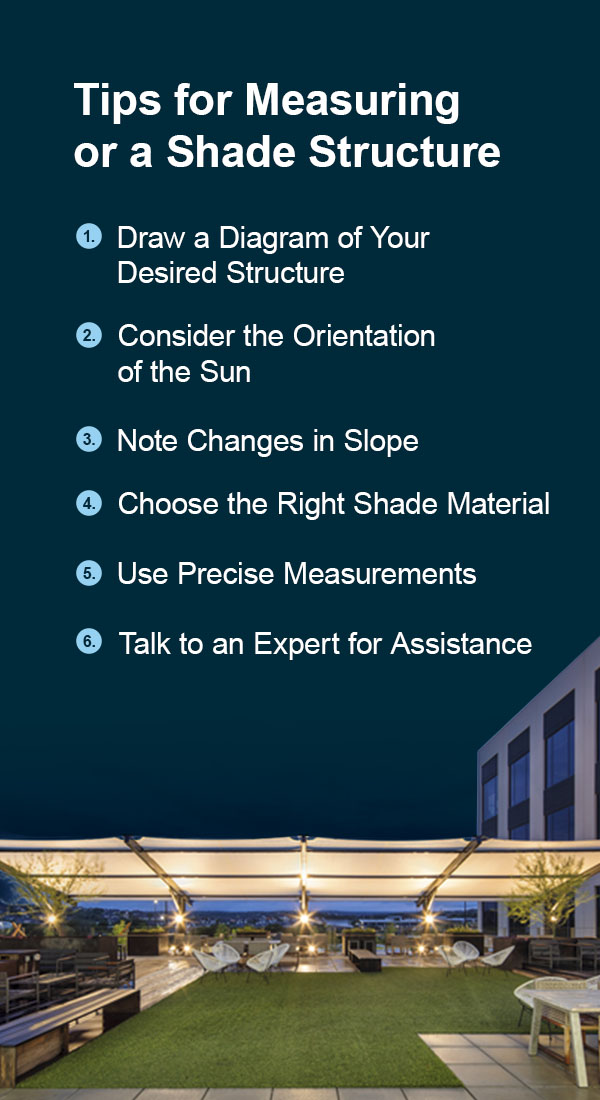
1. Draw a Diagram of Your Desired Structure
Measuring can become confusing, especially when measuring for five- and six-sided sail structures. To remember which side is which, follow these simple stapes:
- Start by drawing a rough sketch of the shade on a piece of paper.
- Label each corner of the shade as A, B, C, D, etc.
- On the paper, list each letter and the pole heights next to them.
- List the perimeter and diagonal lengths between each pole as AB, BC, CD, DA, BD, AC, etc. Record the distance between each.
Drawing a diagram will give you a visual representation that helps you keep track of the measurements and ensure accuracy so that the shade fits appropriately in your space.
2. Consider the Orientation of the Sun
Examine the area you want to cover and consider the sun’s positioning. Look at where it sits three times a day — during the morning, at noon and during the afternoon. Understanding the sun’s orientation will help you choose the best positioning to get the maximum shade coverage throughout the day.
General weather patterns will play a role in the type of shade you choose. Bigger isn’t always necessarily better. If you live in a windy area, a larger sail could be prone to tearing. The last thing you want to do is invest in an extensive shade that doesn’t protect your area as intended.
A larger shade might not protect you from the sun, as the shade it casts may end up on nearby surfaces like buildings instead of the ground you’re trying to cover. Investing in the appropriate size shade that fits your space and maximizes sun protection throughout the day is wise.
3. Note Changes in Slope
As mentioned, sloping a shade is essential. While looking at a flat surface may feel satisfying, it’s not smart to have a flat sail shade. Over time, leaves, dirt and water can gather on the shade and strain the fabric. The added strain will eventually cause the structure to collapse.
Sloping the sail will create a natural way for water and other debris to gently slide off the top. This design will protect your sun shade and help keep it structurally sound. Include at least two high points for shades with four or more corners.
4. Choose the Right Shade Material
Choosing the right material for your shade structure will enhance its appearance and functionality. The top choice for shade material is tightly woven high-density polyethylene fabric (HDPE). This fabric is highly durable and offers sun resistance, which makes it a top pick for many manufacturers.
Before choosing a material, it’s a good idea to look at the weight of the fabric, which is indicated in grams per square inch (GSM). The higher the GSM of the material, the thicker and more durable it will be. It’s wise to go with a fabric with a GSM of 300 or higher for a sail that will last you longer.
5. Use Precise Measurements
Measurement precision is essential. Even the smallest discrepancy can lead to a problem with the installation. A lack of accuracy will result in your shade looking out of place or not fitting in your desired location.
These tips can help you achieve accuracy:
- Use a measuring tape: A measuring tape will give you greater accuracy. Use a measuring tape that is long enough to cover the area you are measuring.
- Double-check measurements: While it may take a little longer, measuring twice will help you to confirm your figures.
- Ask for help: Depending on the area you’re measuring, it may be a two-person job. If you need help getting the measurements right, ask for assistance.
Incorrect measurements will affect how your finished product looks and increase the cost of installation. To ensure the best appearance and minimize costs as much as possible, be sure your measurements are accurate from the start.
6. Talk to an Expert for Assistance
If this is your first time shopping for a shade structure, hiring an expert to help you with the process is wise. They have the equipment, knowledge and experience to help you measure your site, choose the best shade structure for your needs and install everything correctly. Working with a professional company can even save you money in the long run, as you can expect them to complete the job right the first time.

Contact USA SHADE to Receive a Quote
A shade structure can elevate your outdoor space and provide shade for a comfortable outdoor experience. Measuring for a sun shade is the first step in the process and requires step-by-step precision. Even if measuring seems complex, it’s well worth the effort for a quality finished product. Beyond measuring for the shade accurately, consider the sun’s orientation, the objects you’ll be covering and what structures you can use to anchor your shade.
Ultimately, if you want your installation done right, it’s best to leave it up to the experts. At USA SHADE, we’ve been pioneers and innovators in shade structure design since 1991. Our in-house design team will create a custom shade that meets your specifications, delivering a quality finished product on time. We have many shade designs available, so you can choose one or more options that suit your property best. Customize your perfect shade with our Shade Builder Tool.
To learn more about our products or request a quote, contact us today!